If you’ve ever had a flat tire, a torn rubber boot, or a leaking inflatable, you’ve likely come across vulcanizing cement as a go-to solution. This powerful adhesive is a staple in repair kits, particularly for rubber-based materials like tires, inner tubes, and industrial rubber products. But how exactly do you use vulcanizing cement to ensure a strong, lasting fix? In this guide, we’ll walk you through the step-by-step process, offer some pro tips, and explain why this specialized glue is so effective.
What Is Vulcanizing Cement?
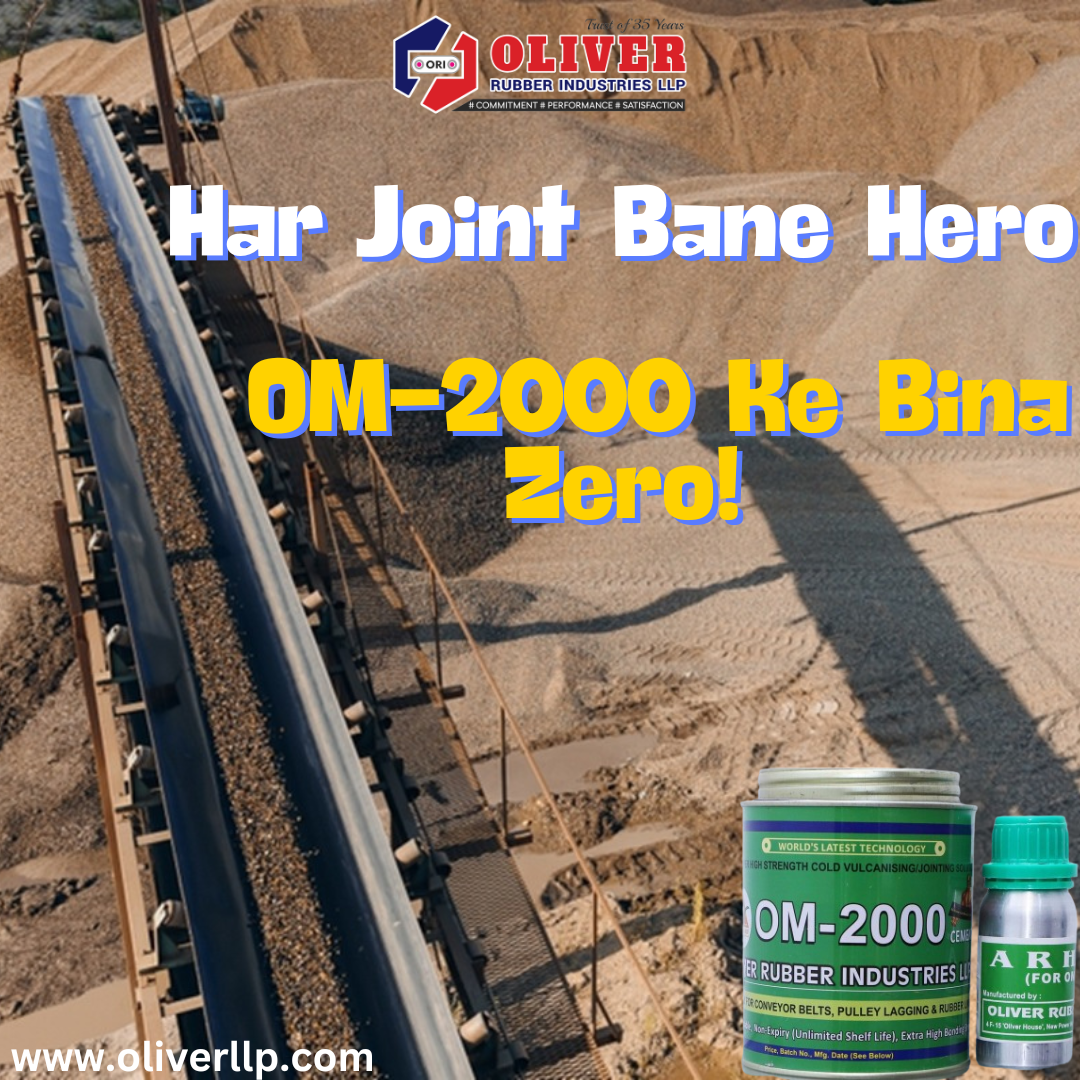
Before diving into the how-to, let’s clarify what vulcanizing cement is. Unlike regular adhesives, vulcanizing cement is designed to chemically bond rubber surfaces together through a process called vulcanization. Vulcanization involves creating cross-links between rubber molecules, resulting in a durable, flexible, and airtight seal. This makes it ideal for patching tires, repairing rubber hoses, or even fixing waders. It’s typically sold in small tubes or cans, often paired with rubber patches in repair kits.
Tools and Materials You’ll Need
To get started with vulcanizing cement, gather the following:
- Vulcanizing cement (check the product label for rubber compatibility)
- A rubber patch (if not included with the cement)
- Sandpaper or a metal rasp
- A clean cloth
- Scissors (if cutting a patch)
- A small brush or applicator (sometimes included with the cement)
- Gloves (optional, for mess-free application)
- A well-ventilated workspace
Step-by-Step Guide to Using Vulcanizing Cement
- Locate and Prepare the Damage Start by finding the puncture or tear. For tires or tubes, inflate slightly to hear air escaping or use soapy water to spot bubbles. Once located, mark the area with chalk or a pen. Deflate the item completely (if applicable) and dry it thoroughly. Moisture is the enemy of vulcanizing cement, so wipe the area with a clean, dry cloth.
- Rough Up the Surface For vulcanizing cement to work its magic, the rubber surface needs to be slightly textured. Use sandpaper or a metal rasp to gently scuff the area around the damage. Aim for a rough, matte finish—about a 1-2 inch radius around the hole. This step ensures the cement and patch adhere properly. After sanding, wipe away dust with a dry cloth.
- Cut and Test the Patch If your repair kit includes a rubber patch, cut it to size using scissors. It should extend at least half an inch beyond the damaged area on all sides. Before applying vulcanizing cement, do a dry fit by placing the patch over the hole to confirm it covers everything.
- Apply the Vulcanizing Cement Squeeze a thin, even layer of vulcanizing cement onto the damaged area and the underside of the patch. Don’t overdo it—too much cement can weaken the bond or create a mess. Spread it evenly with the applicator or a small brush. The cement should look glossy and wet but not dripping.
- Press the Patch into Place Immediately place the patch over the cemented area. Press down firmly with your fingers or a roller tool, starting from the center and working outward to remove air bubbles. Hold it in place for 1-2 minutes. The vulcanization process begins as the cement dries, chemically fusing the patch to the rubber.
- Let It Cure Patience is key. Let the repair sit undisturbed for at least 10-15 minutes, though some products recommend waiting up to 24 hours for maximum strength. Check the instructions on your vulcanizing cement tube for specific curing times. Avoid inflating or using the item until fully cured.
- Test the Repair Once cured, inflate the tire or tube (if applicable) and check for leaks with soapy water. If bubbles appear, the patch didn’t seal properly—clean off the cement with solvent and repeat the process.
Pro Tips for Success
- Work in a Ventilated Area: Vulcanizing cement has a strong odor and contains volatile chemicals. Use it outdoors or in a well-ventilated space.
- Store Properly: Seal the tube tightly after use and store it in a cool, dry place to prevent it from hardening.
- Check Compatibility: Not all vulcanizing cement works on every rubber type. Confirm it’s suitable for your material (e.g., natural rubber vs. synthetic).
- Avoid Overlapping Repairs: If patching near an old repair, ensure the new patch doesn’t overlap, as this can weaken the seal.
Why Choose Vulcanizing Cement?
Unlike regular glue, vulcanizing cement doesn’t just stick surfaces together—it creates a permanent bond that mimics the original rubber’s flexibility and strength. This makes it a favorite for cyclists, mechanics, and DIY enthusiasts. Whether you’re fixing a bike tire on the trail or repairing a heavy-duty truck tube, vulcanizing cement offers reliability you can count on.
Final Thoughts
Mastering the use of vulcanizing cement is a valuable skill for anyone who deals with rubber products. With a little practice, you’ll be able to tackle punctures and tears like a pro. So next time you’re faced with a flat tire or a leaky raft, grab your vulcanizing cement and follow these steps for a repair that lasts. Have questions or a tricky repair? Drop a comment below—I’d love to help!